Infrared video editing tutorial
Edit your infrared videos with Photoshop CC
While Photoshop CC is highly regarded for advanced IR photo editing, most of its filters and adjustment layers can also be applied to videos. This includes the « Camera RAW » filter, which provides access to very useful video editing features such as white balance adjustment and color mixer. In this tutorial, I’ll show you a complete method for infrared video editing using only Photoshop CC.

What you need for capturing an infrared video
Before discussing IR video editing, I think it’s necessary to review the prerequisites for this technique. To create an infrared video, you’ll need:
- A full-spectrum converted camera with a video mode.
- An infrared filter.
- A lens that doesn’t suffer from hotspots.
- A color chart.

For this tutorial, I’ll be using a full-spectrum Canon R50 V camera paired with a Canon EF-S 24mm F/2.8 STM lens, a selection of Kolari Vision infrared filters, and a ColorChecker Passport Photo 2 chart.
When capturing infrared video, the main thing to consider is the white balance setting on your camera. Unless you’re shooting in RAW video format (which isn’t supported by Photoshop CC), you won’t have the same flexibility in adjusting your white balance in post-production. Use a neutral gray chart to adjust your camera’s white balance before capturing your infrared video sequence.
Finally, some cameras allow you to load LUTs and apply them immediately in-body. In infrared video, using the appropriate LUT, you can obtain usable files SOOC with the RGB channel mixer already applied.
Opening an IR Video in Photoshop CC
Opening a video in Photoshop CC is similar to opening an image: File -> Open. Be careful, however: Photoshop CC does not read all video formats. The Adobe website lists the formats of all files that can be imported into Photoshop CC, including video files.

Photoshop CC can therefore play most video files produced by entry-level and mid-range cameras (h.264 codec). Video files from professional cameras, including RAW video and the h.265 codec, are not supported.
In this tutorial, I set the video format to XF-AVC S YCC422 10-bit.
Once your video is open, the main difference visible on the workspace is the addition of a « Timeline » window where you can find, among other things, the timeline, editing tools, transitions and movements.

Video Adjustment Layers in Photoshop CC
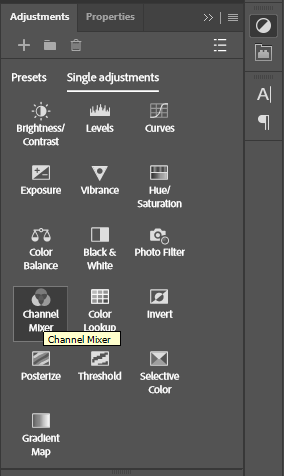
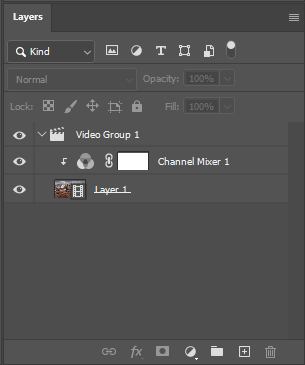
Photoshop CC lets you apply all adjustment layers to your IR video in the same way as you would for an image. These are applied to the entire video and can be masked in the same way as in photo editing. If you’re shooting with a 720nm infrared filter, for example, you can therefore perform an RGB channel mixer with the « Channel Mixer » adjustment layer as if it were a photo, or load the corresponding LUT.
If you’ve correctly set the white balance on your infrared camera, you’ll have a good result from this step. Then, simply continue post-processing your video using adjustment layers like « Level » or « Curve. »
Video Effect Filters in Photoshop CC
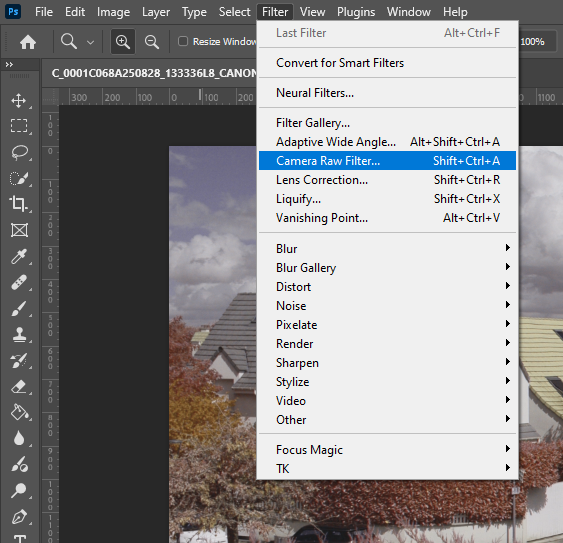
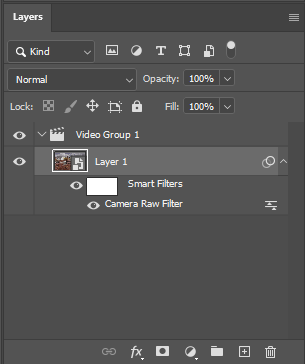
Unlike adjustment layers, using Photoshop CC filters in your videos requires a specific step. Indeed, if you simply select an effect filter from the « Filter » menu, it will be applied only to the single frame pointed to in the video timeline and not to the entire video. A video consists of an average of 30 frames per second, so you would have to repeat the operation frame by frame… Fortunately, there is a technique to overcome this problem!
Because yes, that’s what we’d like to do: apply a filter to all the frames in our video at once, not frame by frame. To do this, simply select the « Convert for Smart Filters » option in the « Filter » tab.
This Photoshop CC feature will allow you to make each filter dynamic, meaning you can change the filter values applied to an image at any time, whereas previously these filters were static. Furthermore, when this option is enabled on a video, the filters are applied to all the frames in it. We can now apply all of Photoshop CC’s photo filters to our video!

Exporting a video in Photoshop CC
Once you have adjusted your infrared video to your liking, you can export it to the format of your choice using the File – Export – Render Video command. Different export options are available depending on the purpose of your video:

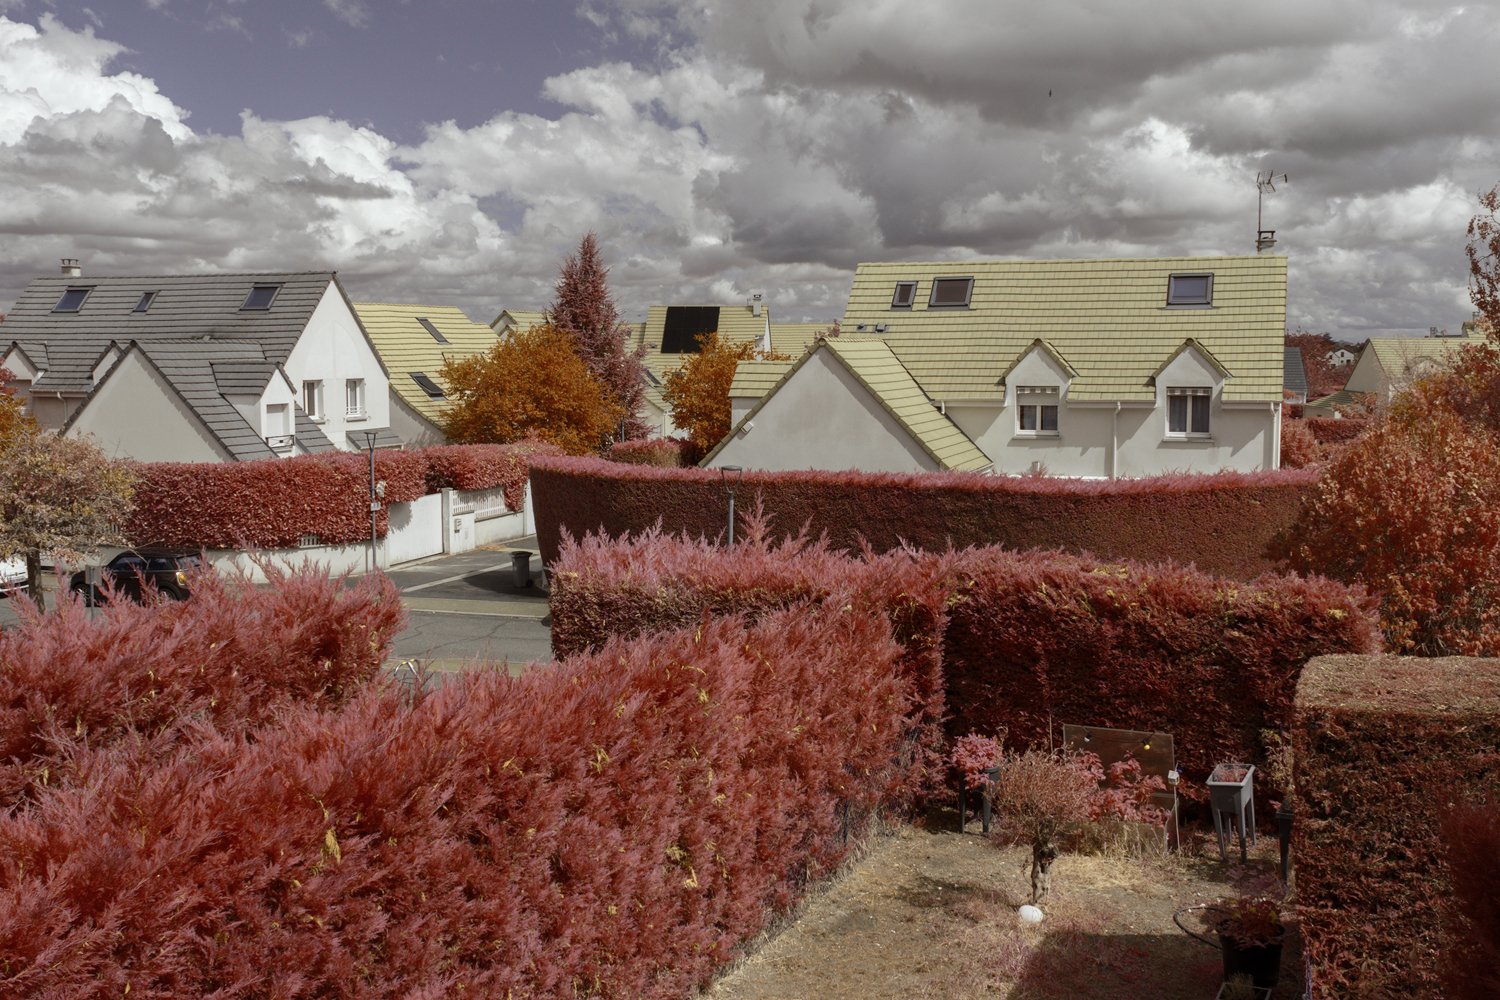
And here is the result of a sequence of infrared videos with different IR filters:
You now have all the knowledge you need to post-process infrared video with Photoshop CC. The last part of this tutorial is aimed at experienced photographers and videographers who want to go further by precisely controlling the color rendering of their infrared videos.
The difference in gamut between an infrared photo and video
The main difference between a photo and an infrared video lies in the color spaces, or gamuts, associated with each of these files. The color spaces commonly used in photography are sRGB, Adobe RGB, and ProPhoto, while in video we must rely on Rec.709, Rec.2020, or C.Gamut (from Canon).
What are the implications for video editing? If you want to achieve the same color rendering between your infrared photos and videos, you will need to ensure the correspondence between the photo and video gamuts. To this end, I propose a specific calibration technique.
Infrared Video Calibration with Photoshop CC
This calibration involves adjusting the various color settings offered by Photoshop CC to achieve similar color renderings between photos and videos. To achieve the most accurate calibration possible, using a color chart is strongly recommended. This calibration is used for a given video gamut: if you film in REC.709, this calibration will not be the same as if you film in C.Gamut. A different calibration is therefore required for each video gamut you use.
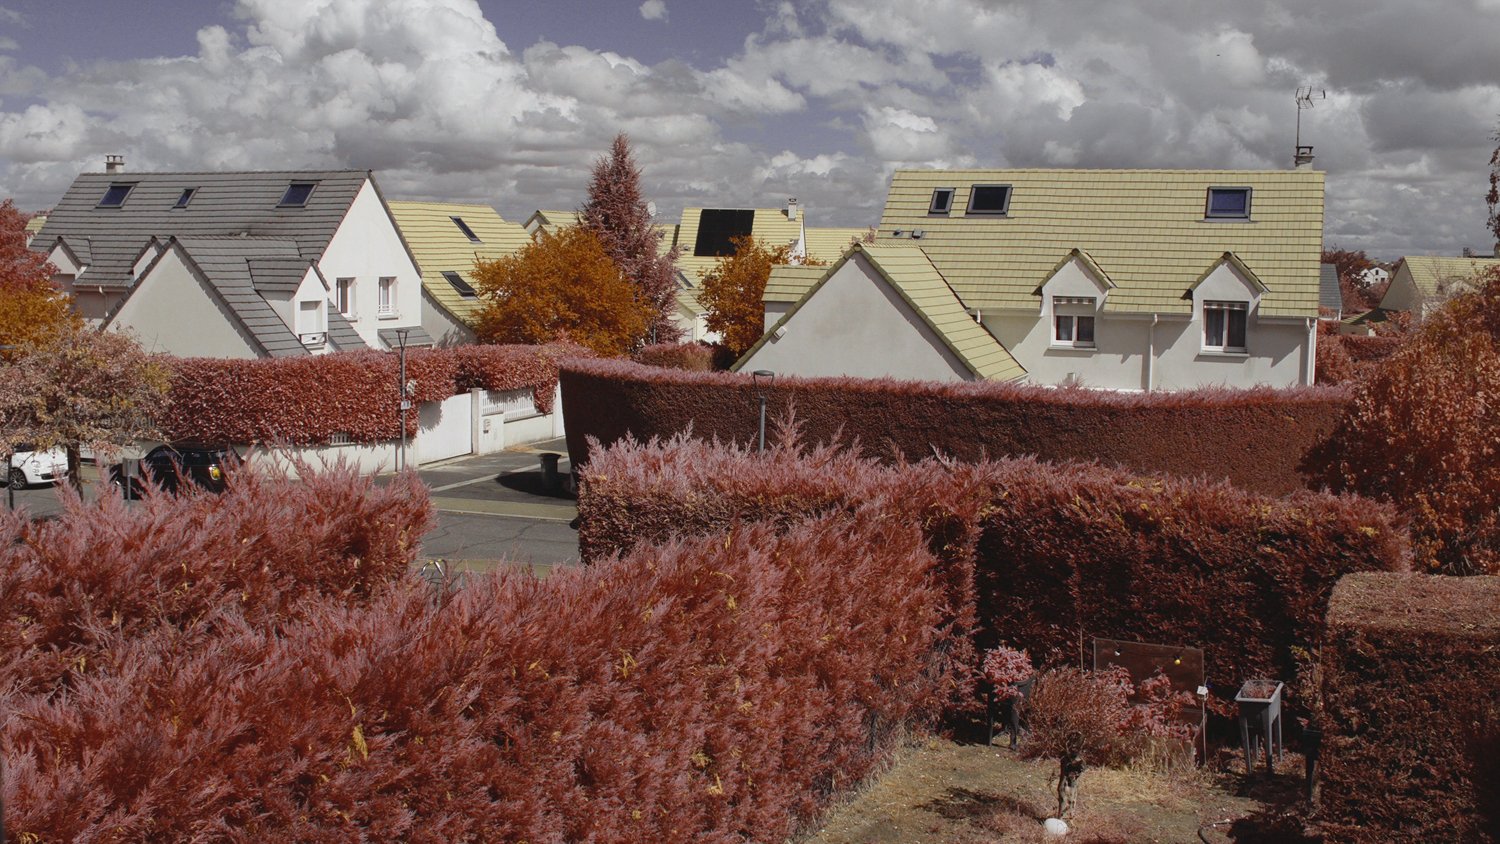
Similarly, a calibration applies to a given infrared filter. Here, I’m using the CandyChrome filter, whose wide range of tones makes it the best candidate to illustrate my point.
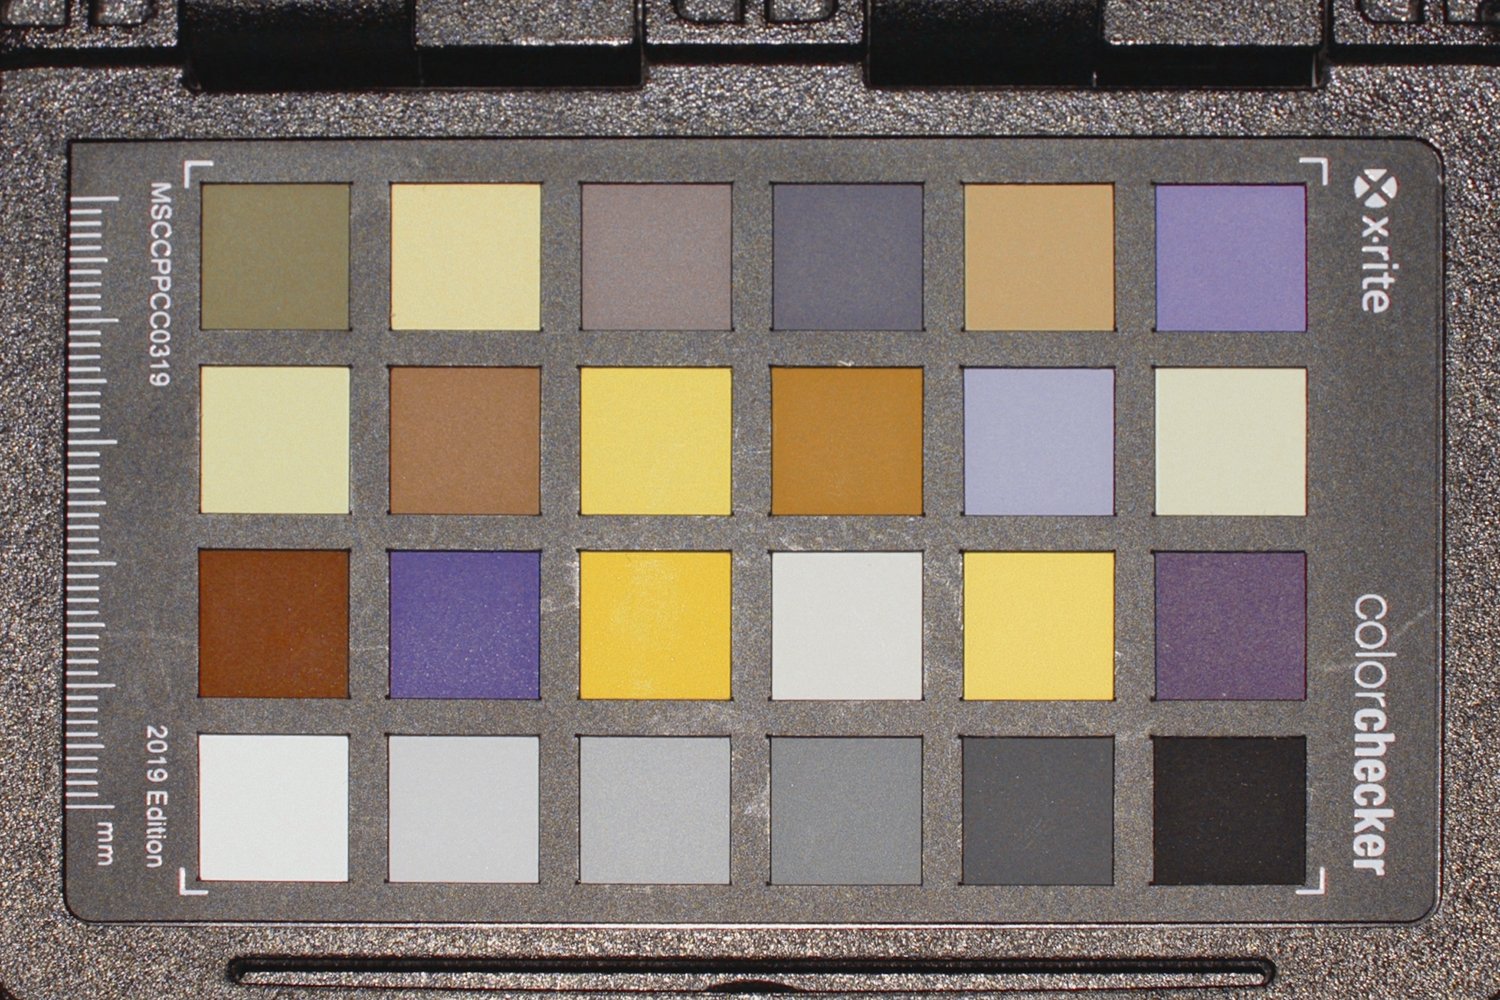
Step one: have a reference infrared photo of your color chart with the infrared filter you want to use in video:

This photo exported in Adobe RGB comes from a 14-bit RAW after adjusting the white balance to neutral gray and applying the adjustment LUT dedicated to the CandyChrome filter.
Second step: film the same chart under the same lighting with the same filter and the same white balance setting, and extract an image from it. Here I chose the REC.709 gamut:

Because the Canon R50 V handles LUTs internally, the chart video provides the correct tones immediately upon capture, without having to apply the LUT in Photoshop CC. Here, we can clearly see that some of the chart colors differ between the photo (left) and the video (right):
Color calibration aims to make the video chart similar to the photo chart using the “Camera RAW” filter in Photoshop CC.
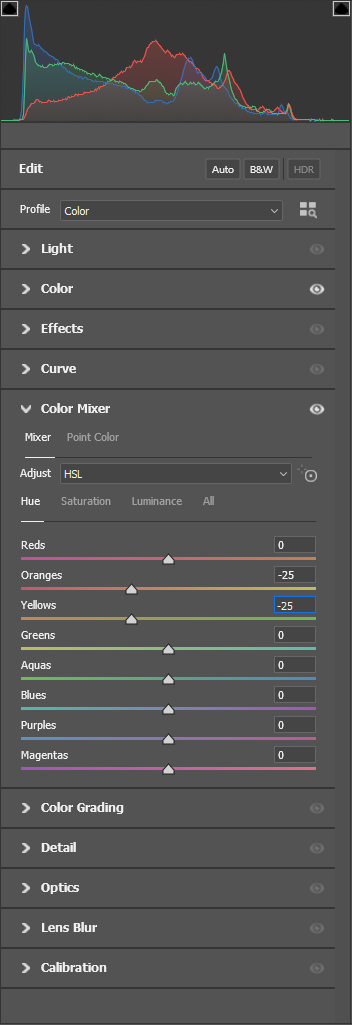
Step 3: Open the « Camera RAW » filter (having taken care to convert our video for dynamic filters beforehand). This filter will first allow you to adjust the white balance by clicking on the neutral gray square in your chart. Then the « Color Mixer » tab gives you access to the hue, saturation and luminance settings of several color components. You then just have to play with these settings by comparing the result with the reference photo from the first step. Here are the settings made with my configuration:
And here is the final comparison between the photo chart (left) and the video chart thus adjusted (right):
The colors match better after this calibration. Apply the same Camera RAW filter settings to your next videos recorded in RC.709 to achieve the same color rendering in infrared video as your infrared photos.
Proof in pictures:
Once you’ve completed this step, you can make additional adjustments (levels, curves, etc.) and even use a « Lens Correction » filter to correct the perspective of your video!
I have built a pack of 7 LUTs dedicated with infrared processing.
These LUTs are optimised to work with Ligthroom Classic and deal with white balance, RGB channel mixer and precise adjustments with this software.
They also work well with other photo and video software.
Through my expertise in infrared photography, I offer a wide range of IR photo and video recording services for your scientific projects and artistic shootings.
Discover the relating offers by clicking on the following link :
Check out my latest blog posts about infrared photography:

700+ free camera profiles for infrared photography
Download more than 700 infrared DNG camera profiles for free to be used in Adobe Camera RAW and Lightroom.

Infrared flash photography: the complete guide 2025
Download the complete guide to infrared flash photography for free.

Getting started with infrared photography in 2025: the best tutorial
The best infrared photography tutorial presenting of 2025 the hardware and software environment needed to obtain unreal pictures.

What makes the Candy Chrome filter so special?
The new Candy Chrome filter has been launched, and customers are starting to use it. But what makes Candy Chrome filter so special?

Infrared documentation
I have selected for you infrared documentation developping different themes related to infrared photography.

INFRA NYC
INFRA NYC leads you to discover New York City in a unique way thanks to infrared light.
If you want to use some of the pictures in this article for illustration or commercial purposes, contact me directly by presenting your needs and the desired types of use. I will get back to you as soon as possible with a suitable commercial offer.