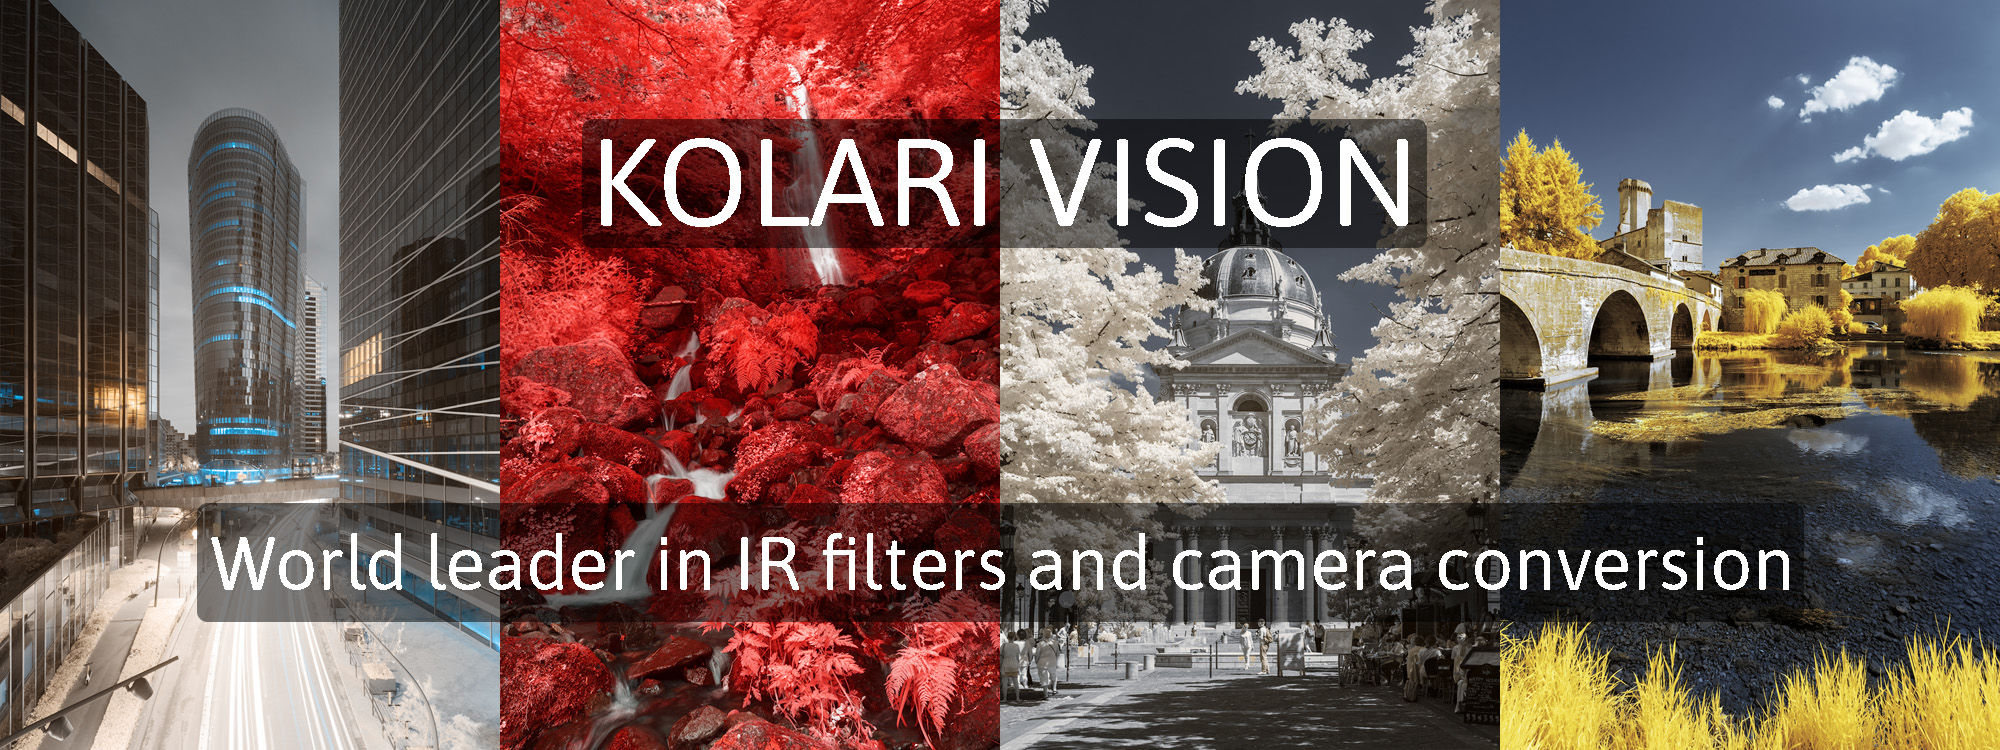
Colour infrared
A tutorial for real lovers of flashy colours
This colour infrared tutorial follows my last tutorial on infrared photography (available HERE) and deals with the processing of a colour infrared picture. The basics of IR processing will not be recalled here, so be sure to have well understood them before starting reading this tutorial.
Through this tutorial, two techniques will be described in order to control the rendering of colours in infrared. These techniques are not specific to infrared photography but find a very useful application here to precisely increase the saturation and purity of colours.
The image used for this tutorial was taken with a 665nm filter. Once the white balance and exposure are set for this wavelength, the raw image looks like this:

Step 1: Invert RGB channels
The first step is to invert the RGB channels, as shown in the previous tutorial. The colours of the image turn out like this:

At this step, the image seriously lacks contrast and saturation, but the colours are discernible: blue for the sky, yellow/orange for the leaves of the trees. The first technique of colour treatment will enhance them.
Step 2: colour saturation with LAB Mode
LAB mode is a color representation mode, similar to RGB mode. This mode has two major applications:
- Correcting colours without impacting brightness.
- Changing contrast without affecting colour saturation.
Using the LAB mode will therefore allow us to obtain more vivid colours while maintaining the exposure of the photo. Saturation is not impacted here.

This technique works as follows:
- On the initial image layer: Image -> Duplicate. The image is copied to a new tab.
- On the duplicate layer: Image -> Mode -> Lab. The duplicated image changes from RGB mode to LAB mode.

- On the duplicated layer: Image -> Apply image: « Overlay » blending mode. The image obtained will be used as an adjustment layer on the initial image remained in RGB mode:

- On the initial layer: copy/paste of the duplicated image and alignment of the layers. Then adjust the opacity of the upper layer to adjust the effect. Personally I keep an opacity of 30%:


At the end of this step, the colours are more vivid and more contrasted. The next step is to selectively increase saturation.
Note: between these two steps, I locally adjust the contrast of the photo using the « luminosity mask/blending mode » association, in order to have a more natural exposure of the photo. However, this step is optional and allows you to obtain the following rendering:
Step 3: colour saturation with Selective Colour
The « selective colour » tool of Photoshop is used to increase the saturation of blue and cyan for the sky and water, and red and yellow for the leaves of the trees. Depending on the desired rendering, these colours may change. Here I want a golden rendering:
- 100% saturation and 50% purification of red. Only the leaves of the trees are impacted:

- 100% saturation and 50% purification of yolk. Only the leaves of the trees are impacted:

- 100% saturation and 50% purification of blue. The sky and the water are impacted:

- At this step I find the rendering of the blue still too pale, I reiterate the last two adjustments of the blue and the cyan:

At the end of this step, the colours are vivified and their saturation has significantly increased. The processing of this photo was completed by increasing the black tones. The final result is the following:

Conclusion of this colour infrared tutorial
In addition to my infrared photography tutorial, this colour infrared tutorial opens the doors to an alternative World just waiting to be discovered!
Through my expertise in infrared photography, I offer a wide range of IR photo and video recording services for your scientific projects and artistic shootings.
Discover the relating offers by clicking on the following link :
I have built a pack of 7 LUTs dedicated with infrared processing.
These LUTs are optimised to work with Ligthroom Classic and deal with white balance, RGB channel mixer and precise adjustments with this software.
They also work well with other photo and video software.
If you want to use some of the pictures in this article for illustration or commercial purposes, contact me directly by presenting your needs and the desired types of use. I will get back to you as soon as possible with a suitable commercial offer.
Pierre-Louis Ferrer
Discover my other tutorials

Getting started with infrared photography in 2026: the best tutorial
The best infrared photography tutorial of 2026, presenting the hardware and software environment needed to obtain unreal pictures.
Infrared Video Editing Tutorial with Photoshop CC
In this tutorial, I present you a complete method of infrared video editing using only Photoshop CC.
Digital Aerochrome tutorial: rediscover the magical Kodak film
Discover an unique technique simulating the effect of Kodak Aerochrome film with this digital Aerochrome tutorial.